With this feature you are able upload lists and assign a different status to each list. This will enable you to distinguish between your Clients, Prospects and other names you might want to add. Remember it is easier to locate names in your system if you are consistent in how you use Status and Tags. It is a very powerful asset to have all your contacts in one easy to use marketing system.
1. Click on Contacts

2. Once in your contacts, click on Import.

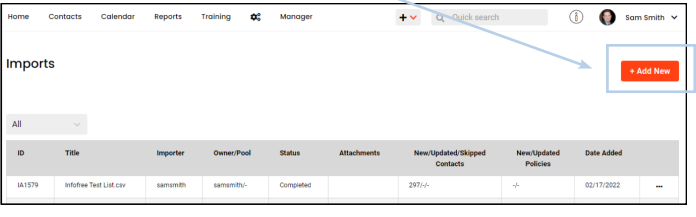
3. Click on the box that says + Add New
4. Next, either drag the .CSV file you want to upload onto the grey box or click select a file.
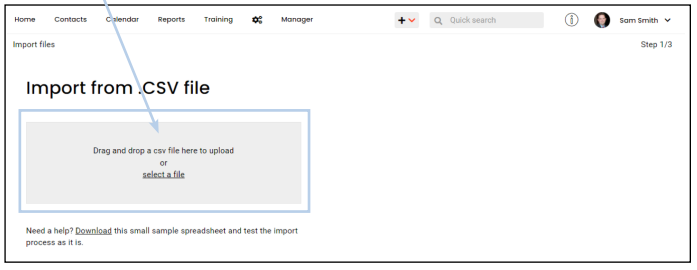
5. Select the file from your computer that you want uploaded into the system. The file must be in a .CSV format to load properly.

6. Click continue.

7. Once the list has been uploaded, the system will display how many names were found in the .CSV file. Now you can click on each of the drop-down menus to select the Type, Source, Status, Owner, and Pool. You can also enter any tags you want.

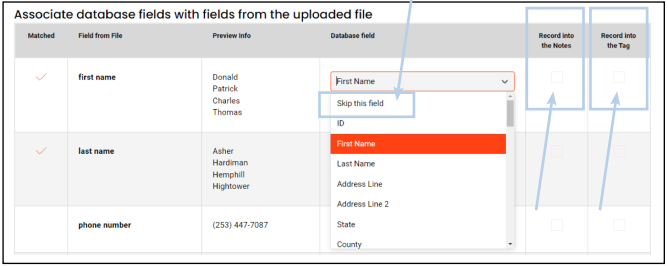
8. Next, you can match any of the fields in the .CSV file to any of the database fields that currently exist.

9. If you want to change the way a field is matched, select the drop-down list for the available fields.
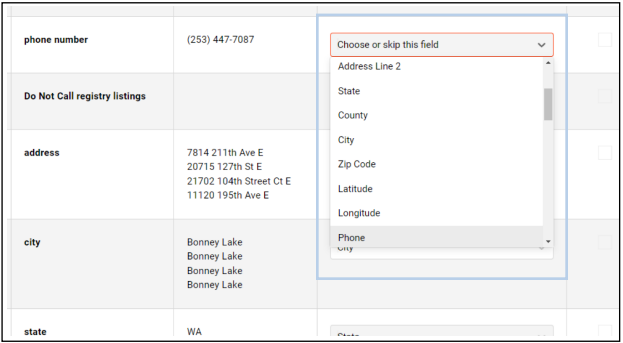
10. If you do not wish for a field to be added to your uploaded contacts, select Skip this field in the drop-down menu. You can also choose to have information recorded into the contact notes and tags by checking the box next to the field.
11. Next you can select Duplicates Detection. This will not allow names that are already in your system to be loaded again, creating a duplicate record. In the Match Scope field, select either None, Owner, or My Descendants. Rules for each selection are listed beside them.

12. You can select the fields you want to compare your imported contacts against your existing contacts, such as Lead ID, Phone, and Email Address. You have the option of selecting whether imported contacts are Skipped or Updated if a match is found.

13. Click Continue

14. You will be shown a preview of how your contacts will be imported. Once you have ensured the values are mapped properly, click Continue.
![]()
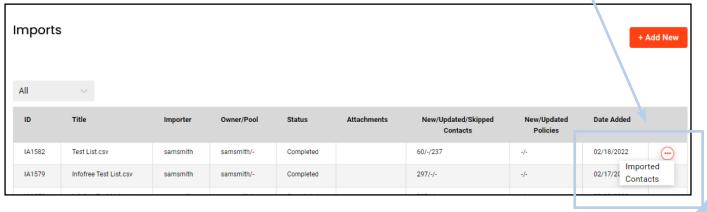
15. Once your contacts have been imported, you will see a summary of how many names were loaded as New, Updated, or Skipped based on the selections you picked on the previous screen. The names are now in your system and ready to be viewed. You may also view the added entries by hovering over the three dots icon and clicking Imported Contacts.